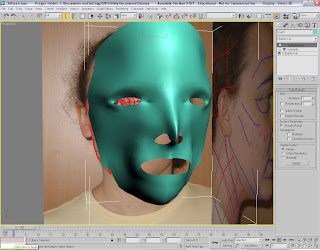
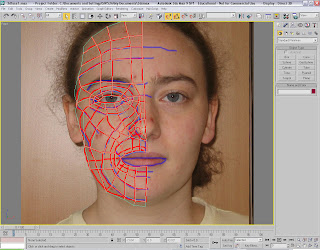
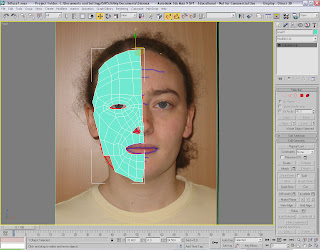
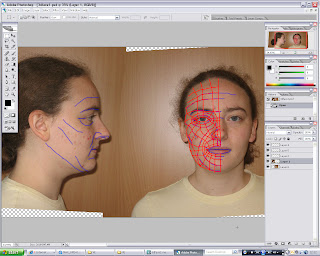
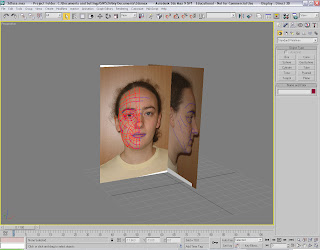
With the face being pulled out I went on to do more detail to the face like the nose first off I started by using the create in Vertex mode and Clone and transsform tool to make more line around the nose to give more shape and using the Split and cut to edit the splines so they flowed better with the rest of the face. I left a small gap for the nostril this took a long time to make the nose look correct.
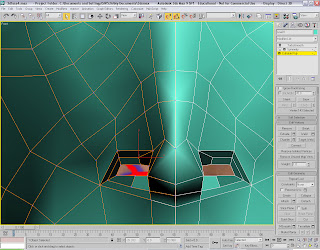
I created the nostrils by first creating two new splines then using Extrude and Move tool to move the splines up the nosre to create the nostril, I found this a bit tempromental as Maxs started to play up and freeze.
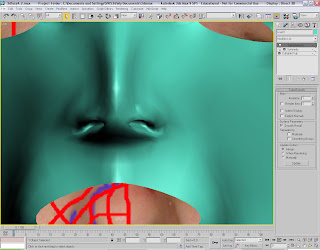
After I did the Nose I went on to do the head to create the head I first of all created a Sphere that was roughly the same size a my face Mesh. I then routated the Sphere so the splines of the Sphere matched up better with the face. I changed the amount of segemnts to the Sphere to match the face by going into the Sphere modify. Once I was happy with the Sphere I change the section region to a circle and selected the splines of the Sphere I wished not to have and deleted them leaving splined for the top part of my head.
I used the Snap toggle and vertex seltion on the Sphere and soft select to connet the top of the head with the face, I found this difficult to do with the line off being slightly out between the face mesh and sphere.
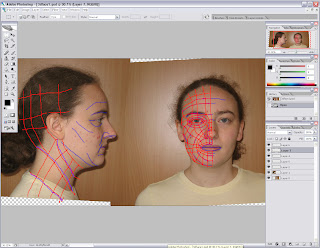
I eddited the left view of my face picture in Photoshop to add extra guide lines to help with the head and neck creation. This automatically changes on the Plane as its the same file.
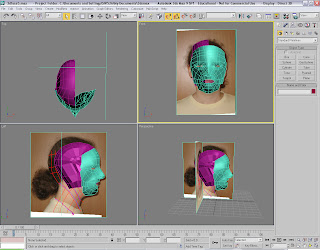
I started Cloning and Moving spline form the top of the head to the left side of the face to create the head and part of the neck. This took a long time to do as part would not clone or Maxs would crash and be tempermental. I used the snap toggle to make it connect to the face.
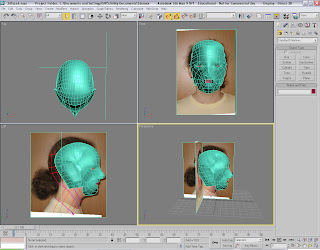
I then used the same technique that I used on the face to create the other side of the head and neck, aswell as adding a Turbo Smooth moodifier to the head and neck.
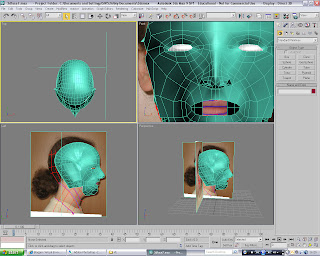
I created the lips similar to the nose I created exra splines and used cut to make lips. Then using the Move Tool I moved the lips forward to make them more lip shape than flat and sunck in.
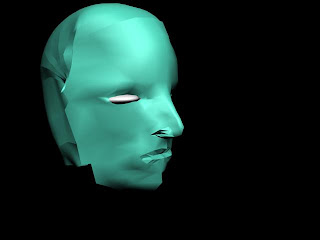
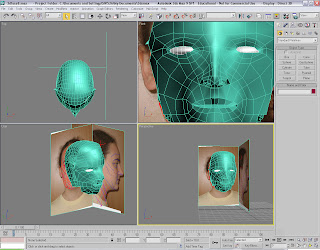 I then went look and editted to the best of my obilitie to make the head look like a head as possible. I ran out of time to add ears, hair and textures to my head, I did find creating the head hard in some places due I haven't done anything like this before, and I have also gained some experience doing this, that I will use in future projects.


I then used the same technique that I used on the face to create the other side of the head and neck, aswell as adding a Turbo Smooth moodifier to the head and neck.

I created the eyes by creating a Sphere then using the transform and move tool Icreated the eye and placed it into position, I used clone to create a second eye.

I created the lips similar to the nose I created exra splines and used cut to make lips. Then using the Move Tool I moved the lips forward to make them more lip shape than flat and sunck in.
 I then went look and editted to the best of my obilitie to make the head look like a head as possible. I ran out of time to add ears, hair and textures to my head, I did find creating the head hard in some places due I haven't done anything like this before, and I have also gained some experience doing this, that I will use in future projects.
 I would definetly like to do something like this again as I have enjoyed it even with the times were I had to re-do parts as it wasn't right.
The I didn't enjoy was when Max went strange and I had to re-do parts of my face, but I have learnt to save in stages due to this.
